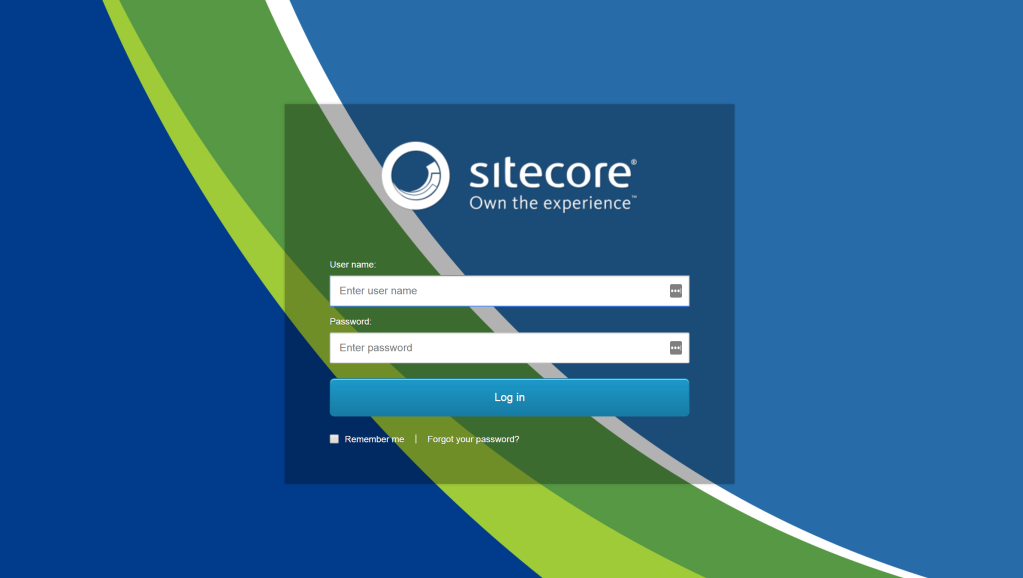
This tutorial will provide you the necessary steps in order to change the Background Image of the SItecore Admin Login Screen. Changing the background image for the admin login screen is a great way to personalize an experience for the content authors, provide agency or corporate branding, or provide additional information about the site (by embedding the information into the image).
Sitecore Versions:
- Sitecore 8.x
- Sitecore 9.x
Tutorial:
Step 1: Create / Select a New Background Image
Create a new image to use as the login screen background image. To accommodate a variety of screen sizes, it is recommended the image is 2560x1600px in dimensions. Once you have obtained the image, add it to the project so that it will be deployed with the rest of the website’s assets.
Note: When the background image is presented on the screen, it is set via the following CSS rules:
| background: url(/sitecore/login/drop_wallpaper.jpg) no-repeat center center fixed; | |
| background-size: cover; |
Step 2: Create a Patch File
To set the new image, you need to create a new configuration patch file within the App_Config project folder. The patch file should contains the following code.
| <configuration xmlns:patch="http://www.sitecore.net/xmlconfig/"> | |
| <sitecore> | |
| <settings> | |
| <setting name="Login.BackgroundImageUrl"> | |
| <patch:delete /> | |
| </setting> | |
| <setting name="Login.BackgroundImageUrl" value="/path/to/images/new_wallpaper_filename.jpg" /> | |
| </settings> | |
| </sitecore> | |
| </configuration> |
Step 3: Deploy and Test
With all files saved and added to the project, simply deploy the code and visit the login screen in order to verify everything is configured correctly.


Leave a comment