
I have been working with Javascript for over 20 years at this point. I’ve seen it used for simple alert messages all the way to the single-page applications we build today using frameworks like React, Angular, and Vue. One of the challenges in writing Javascript early on was the lack of tooling around it. Developing scripts were tedious as your best way of debugging were alert messages and writing messages out to the console (once that was introduced).
Thankfully, the tooling around Javascript has expanded greatly in recent years. In this post, we’ll take a look at one of these tools, ESLint, and provide you a getting started guide on how to set it up and use it in your next project.
Why should you use ESLint?
ESLint is a tool called a Linter. Linters are static code analysis tools that review your code against recommended rules and best practices in order to identify potential infractions. This tends to lead to more consistent code in both readability and style that can lead to fewer runtime errors due to certain things being caught ahead of time (e.g. attempting to reassign a constant). If you are on a team of developers, ESLint helps build that consistency even further as everyone will be working with the same recommendations and validating their work against such.
A quick mention about text editors
In this post, I’m going to be going over ESLint but also how to use it within the text editor of Visual Studio Code (VS Code). Other text editors offer similar plugins and extensions for using ESLint; however, VS Code is one of the more popular editors out there currently for Javascript and showing the benefits of using ESLint within a tool helps provide a better overall picture of your development workflow. For more information and to download VS Code, go to https://code.visualstudio.com/.
Installing NodeJS and NPM
In order to install ESLint, we first need to download and install NodeJS and NPM. NodeJS is a server-side Javascript environment for writing websites, applications, and APIs. NPM is a packages management system for NodeJS that comes bundled with it and is used to install Javascript packages and utilities like ESLint. You can download the latest version of NodeJS and NPM at https://nodejs.org/en/.
Once NodeJS and NPM is installed, open up a Terminal (Mac) or Command Prompt (PC) window. You can verify the installed version with by typing node --version and/or npm --version.

With NPM installed we can now navigate to the folder where your Javascript is located and get ready to install ESLint. However, there is one more thing we have to do; we have to create a package.json file in order to keep track of our dependencies for NPM. This can be accomplished by simply typing npm init -y. (NOTE: This post won’t get into details of NPM or the package.json file. I’ll dive into them in greater detail in a future post.)
Installing ESLint
To install ESLint, we need to install its package globally via NPM. To do this, simply type the command npm install -g eslint. For Mac and Linux users, you may receive an error stating you don’t have permissions, if this is the case type sudo in front of the command and enter your password when prompted. Once the package is installed, we now have to configure ESLint. Thankfully ESLint comes with its on utility for doing this by typing in eslint --init.
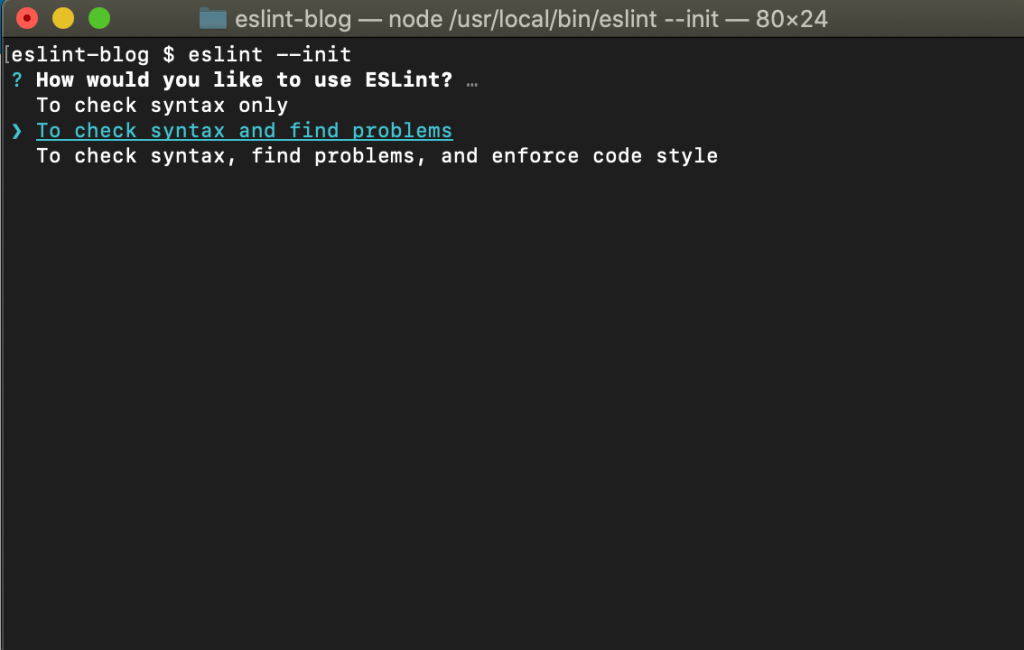
During the initialization and configuration process you’ll be asked a series of questions. The first of which configures how strict you want ESLint to be with the default set to checking syntax and finding problems (as shown above).
The next question ESLint asks is what type of Javascript module syntax you are using (ES6, CommonJS, or None). Following this question, ESLint asks if you are using any special Javascript frameworks such as React or Vue.js. Next, it’ll ask if you are using Typescript and if your code is being ran in the browser or from the Node runtime. Lastly, it’ll ask what format you want the configuration file to be produced in.
After all of those questions, it’ll prompt you to install some additional NPM packages based on your answers and will create a .eslintrc configuration file.
Configuring VS Code
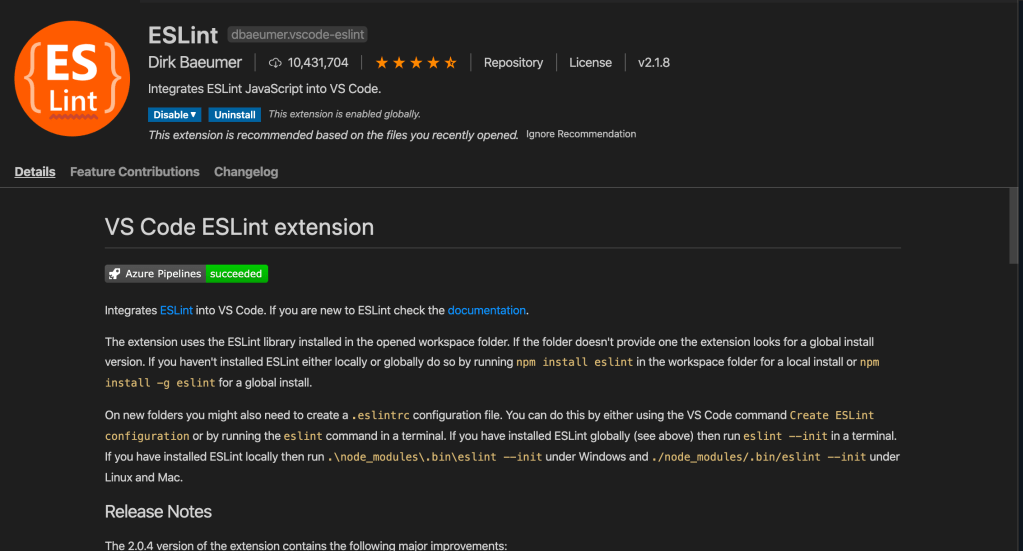
While we can use ESLint from the command line and have it analyze our files from there, having the ability to have it work within the tools that we use to write our Javascript is better. Thankfully, many modern text editors and coding environments allow for plugins and extensions that work with ESLint that allow for this integration. For VS Code, the extension that I recommend is simply called ESLint by Dirk Baeumer. Simply install the extension and restart VS Code and we are ready to have ESLint work with us while we type our code.
And That’s It!
From this point, we can simply writing our Javascript and VS Code (in our example) will decorate your file as your type based on rules that it has configured. Some examples of involve letting you know when a variable or function is declared but never used, when to use let/const instead of var, and a large number of other items. To learn more about ESLint and the rules that it can be configured to use, I highly recommend checking out the official website at https://eslint.org/. In a future post, we’ll dive deeper into ESLint when using it in conjunction with unit testing and with Typescript.
